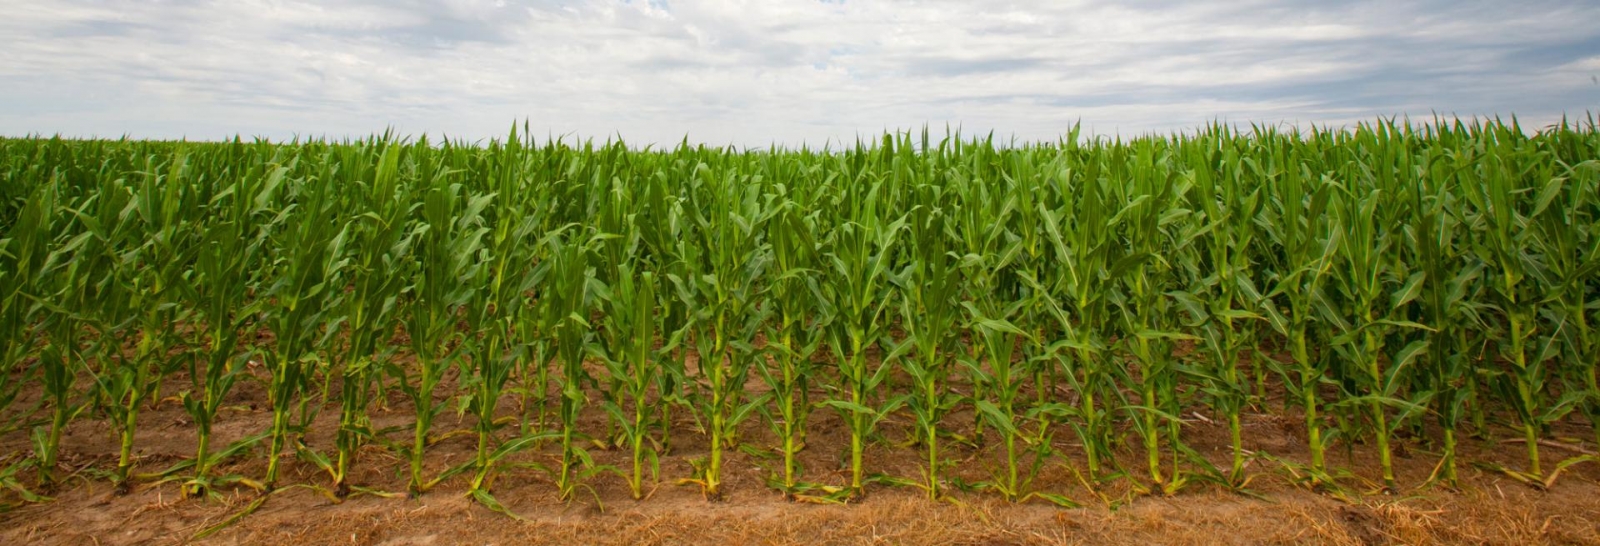
With harvest just around the corner now is a good time to prepare for harvest and grain storage.
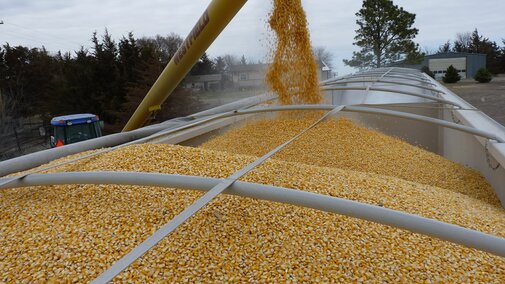
Growing a crop takes good management coupled with a little cooperation from Mother Nature. While we can't control the weather, we have almost complete control on whether we keep that crop in good condition from harvest until it is fed or sold. Producing a good crop, only to have its condition deteriorate in storage, is an unnecessary loss of income.
Last year, harvest progressed normally, but a few years ago, it was a disaster due to poor harvest and drying conditions. A lot of grain was harvested wet, conditions were not favorable for drying it in the bin, and some of the crop went out of condition in storage. With crops maturing earlier this year, hopefully, there will be plenty of opportunity for crops to dry in the field, reducing the need for and expense of drying stored grain.
Proper cleanup before harvest coupled with good stored grain management will put more income in your pocket and keep your equipment and facilities in better condition. Consider this five-step, pre-harvest plan to keep your stored grain in good condition.
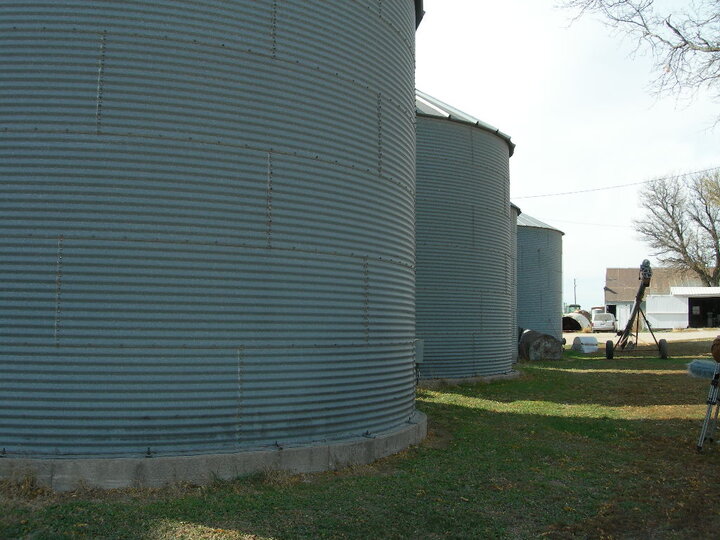
- Pest Proof Bins. Repair all leaks and holes in bins so rain or snow can't get in and increase grain moisture and pockets of grain spoilage. Screen roof vents to exclude birds and other pests. Keep doors shut to keep birds, rodents, and insects out.
- Clean Outside Bins. Do not allow junk to accumulate or weeds and grass to grow tall next to your bins. These hiding places for rodents make detecting their presence more difficult. Clean up spilled grain from loading and unloading areas so it won't attract insects, birds, or rodents.
- Clean Inside Bins. Grain or grain debris may harbor insects and molds that can infest newly stored grains. For this reason, never put new grain on top of old grain. Thoroughly clean the bin with brooms, shovels, and vacuum cleaners to remove old grain, cracked kernels, and grain debris. Clean walls, ceilings, ledges, sills, and floors. Clean behind partitions and between walls, and clean out cracks and crevices. Remove and burn all sweepings and debris.
- Spray Bins. After the bin is thoroughly cleaned, spray the inside surfaces with a recommended grain protectant, ideally at least two weeks before storing grain. Check the insecticide label for rates and to ensure the product is appropriate for the type of grain you will store. Spray around all openings and into the seams. Spray removable doors, behind partitions and under perforated floors and aeration ducts. Before grain is put in the bin, sweep up and dispose of all dead insects.
- Clean Harvest and Handling Equipment. Thoroughly clean trucks, combines, grain carts, augers, dryers and other equipment that might have old grain left in it from the last use. Such grain may contain insects and molds that could start new infestations in newly harvested grain.
Following these five steps won’t ensure safe grain storage, but it does greatly reduce the chance for problems to develop in your bins. You’ll still need to get grain dried and cooled enough for safe storage this fall, periodically check on it over the winter, then gradually warm the grain next spring.
More Information
For more information see the Grain Storage Management section in CropWatch or contact your local Nebraska Extension office.